Tips, tricks, and practical plans to improve your woodworking skills and complete fun DIY projects.
Monday, August 5, 2024
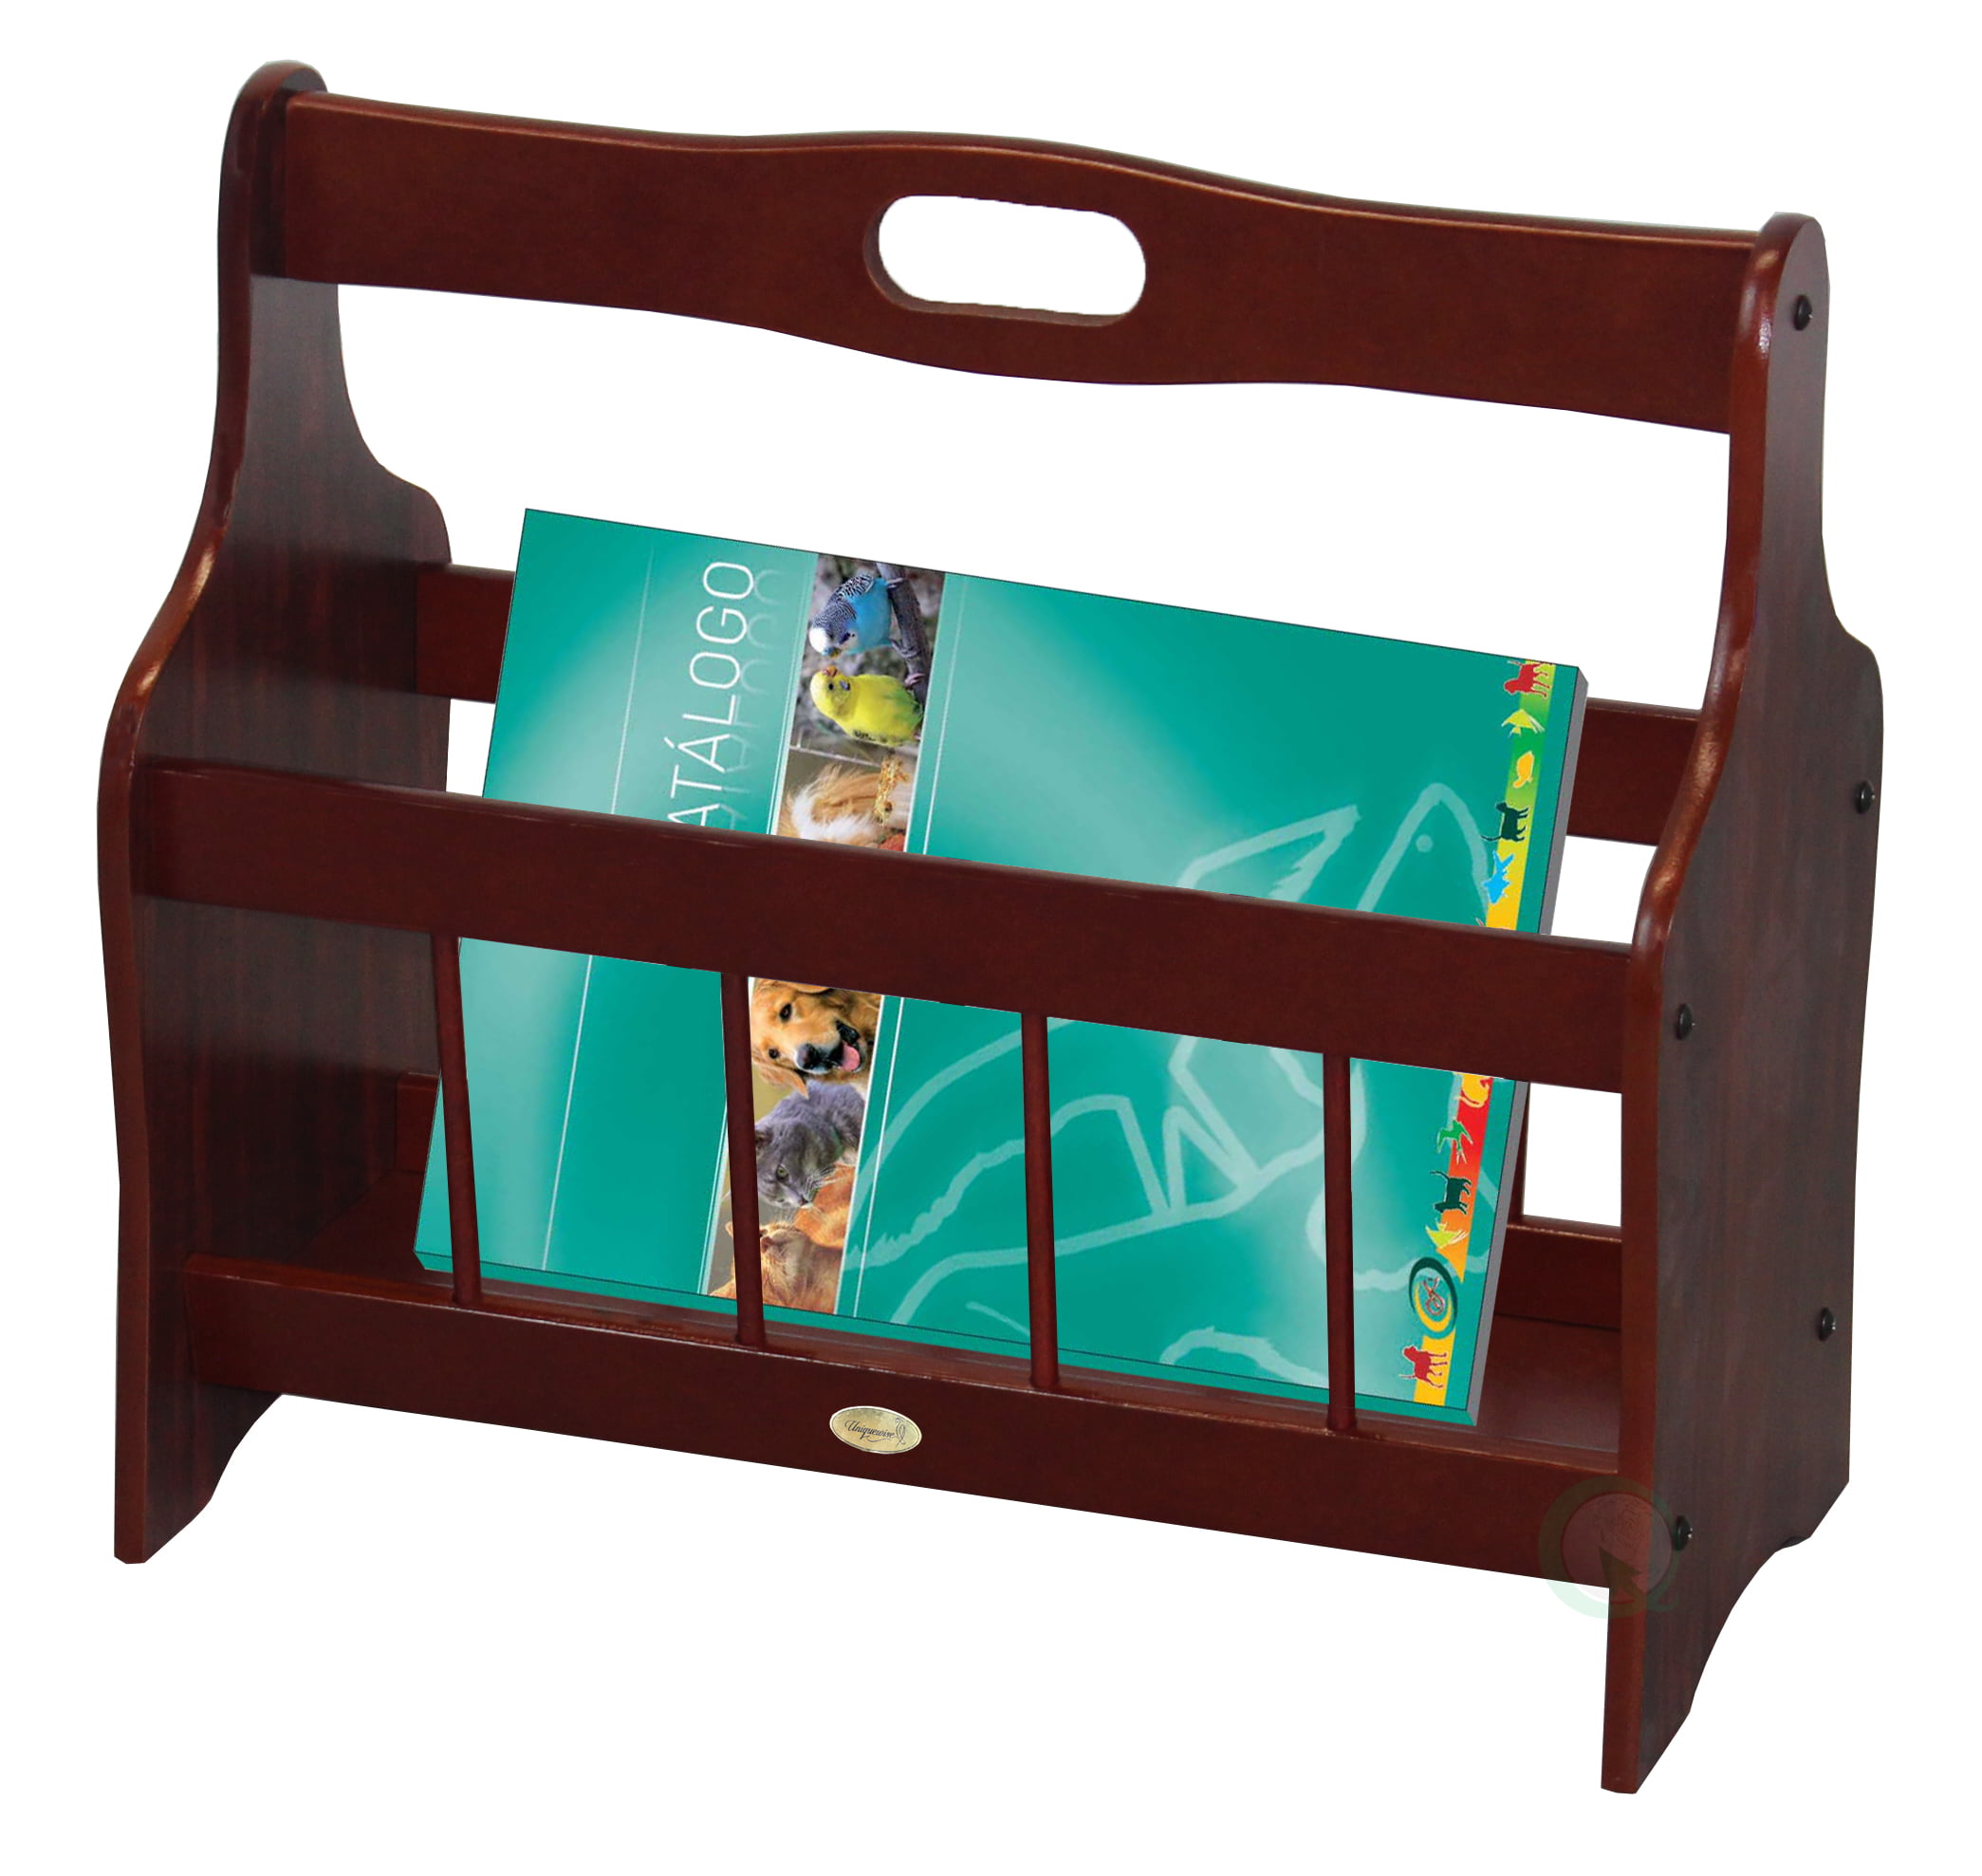
How to Build a Wooden Magazine Rack for Entryways and Living Rooms

Building a Wooden Magazine Rack for Entryways and Living Rooms
Looking for a stylish and practical way to organize your magazines, newspapers, and other reading materials? Building a wooden magazine rack is a great project for any DIY enthusiast. Not only will it add a touch of charm to your entryway or living room, but it will also help you keep your space tidy and organized. In this guide, we'll walk you through the process of crafting a sturdy and attractive magazine rack that you can proudly display in your home.
Materials You'll Need
Before you start, gather the necessary materials. This project calls for basic woodworking tools and supplies that are readily available at most hardware stores. You'll need:
- Wood boards (1x6 or 1x8) - You'll need enough to create the base, sides, and shelves of your magazine rack.
- Wood glue
- Wood screws
- Wood stain or paint (optional)
- Sandpaper (various grits)
- Measuring tape
- Pencil
- Saw (circular saw or hand saw)
- Drill
- Clamps
- Safety glasses
- Dust mask
Planning Your Design
The first step is to design your magazine rack. Consider the following:
- Size: Determine the dimensions of your magazine rack based on the space you have available and the amount of reading material you need to store.
- Shape: Choose a basic shape for your magazine rack. Common options include rectangular, square, or angled.
- Number of Shelves: Decide how many shelves you want based on the height of your magazine rack and the amount of storage you require.
- Style: Think about the overall style you want to achieve. You can choose from a simple, rustic, or more modern design.
Building the Base and Sides
Once you have your design in place, it's time to start building. Here's how to create the base and sides of your magazine rack:
- Cut the Base: Measure and cut two pieces of wood for the base, ensuring they are the desired length and width.
- Cut the Sides: Measure and cut two side pieces of wood, ensuring they are the desired height. Make sure they are the same length as the base pieces.
- Assemble the Base and Sides: Use wood glue and screws to attach the sides to the base pieces.
Adding the Shelves
Next, let's create the shelves to hold your magazines. Follow these steps:
- Measure and Cut Shelves: Measure and cut your shelf boards to the desired length and width.
- Position Shelves: Determine the spacing between shelves. Use a pencil to mark the positions of the shelves on the inside of the side pieces.
- Attach Shelves: Apply wood glue to the shelf edges and attach them to the sides using screws. Make sure the shelves are level.
Finishing Touches
Now that the main structure is complete, it's time to give your magazine rack that finishing touch:
- Sand: Sand all surfaces of your magazine rack, starting with coarse sandpaper and gradually moving to finer grits for a smooth finish.
- Stain or Paint (Optional): If you want to add a touch of color or protect the wood, apply a stain or paint of your choice. Let it dry completely.
- Apply Polyurethane (Optional): For extra protection and a durable finish, apply a clear polyurethane sealant.
Enjoy Your New Magazine Rack!
You've now successfully built a stylish and functional magazine rack! Place it in your entryway or living room to add organization and personality to your space. Remember to be creative and customize your design to reflect your personal style. Your new magazine rack will not only provide a home for your reading materials, but it will also serve as a testament to your DIY skills.
No comments:
Post a Comment
Note: Only a member of this blog may post a comment.