Monday, September 23, 2024
How to Make Large and Small Cutting Boards for Every Need
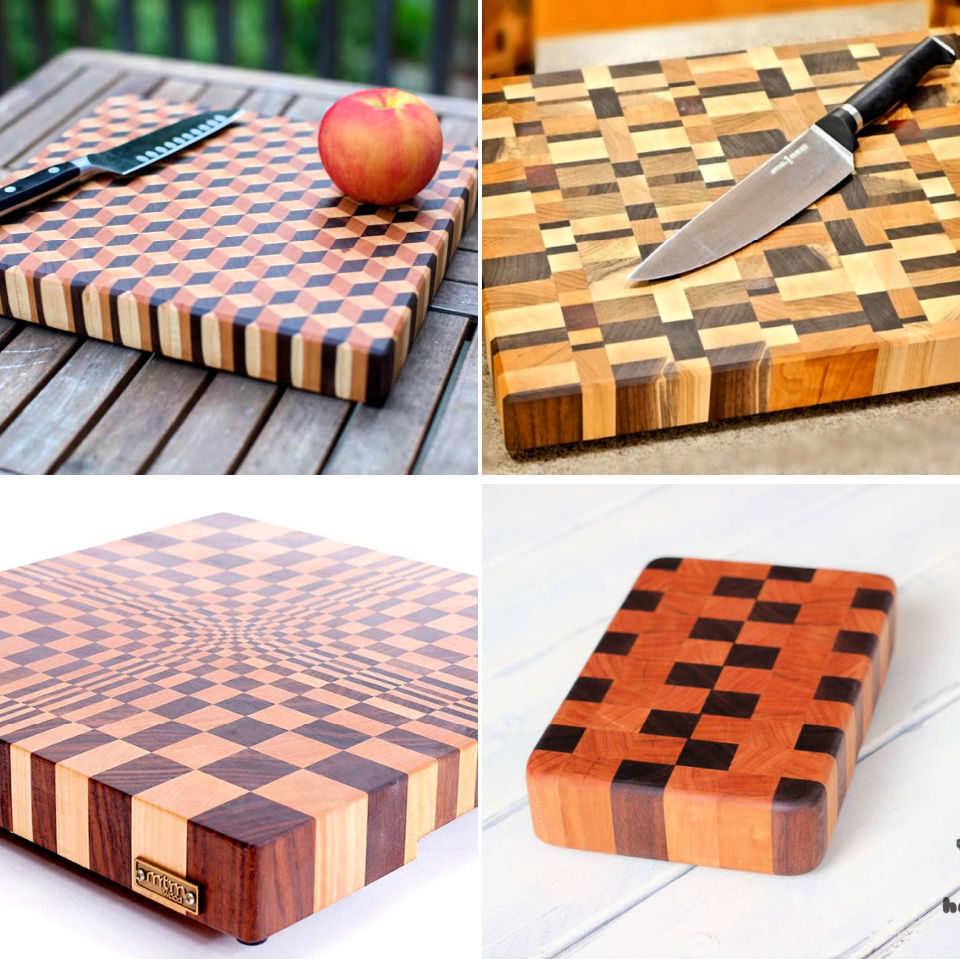
Crafting Cutting Boards for Every Culinary Need: A Comprehensive Guide
Cutting boards are indispensable tools in any kitchen, providing a dedicated surface for preparing ingredients while protecting countertops and preserving the sharpness of knives. However, not all cutting boards are created equal. The optimal size and material choice can significantly impact your culinary experience. This guide will delve into the art of crafting cutting boards, offering practical tips and techniques to create bespoke solutions for every culinary need.
Choosing the Right Material
The first step in constructing a cutting board is selecting the appropriate material. Each material possesses unique characteristics that influence its durability, hygiene, and aesthetic appeal.
Hardwood Options
- Maple: Renowned for its hardness, maple is a popular choice for cutting boards. Its tight grain structure provides excellent resistance to knife marks and warping. The natural beauty of maple also makes it aesthetically pleasing.
- Cherry: Cherrywood boasts a rich, reddish-brown hue and a moderate hardness. It is known for its durability and resistance to staining.
- Walnut: Walnut cutting boards exude a luxurious charm with their distinctive dark brown color and intricate grain patterns. While slightly softer than maple, walnut is still robust and offers excellent resistance to wear and tear.
- Oak: With its distinctive grain patterns and durability, oak is another popular option. Oak's hardness makes it highly resistant to knife damage, but it can be susceptible to staining.
Softwood Choices
- Pine: While softwood, pine offers an affordable option for beginners. Its softer nature can lead to more knife marks but is ideal for projects where budget is a primary concern.
- Cedar: Cedar boasts a natural resistance to insects and a pleasant aroma. Its softer texture makes it suitable for cutting softer ingredients, like bread.
Alternative Materials
- Bamboo: Bamboo is a fast-growing, sustainable material known for its durability and resistance to moisture. It is an excellent choice for cutting boards due to its natural antibacterial properties.
- Plastic: Plastic cutting boards are lightweight, affordable, and easy to clean. They are ideal for chopping vegetables and meat and are available in various colors and designs.
- Glass: Glass cutting boards are highly sanitary and easy to clean. However, they can be prone to cracking if dropped and can dull knives quickly.
Design Considerations: Crafting for Size and Purpose
The size and shape of your cutting board should align with its intended purpose. This section will explore designing cutting boards to accommodate specific culinary tasks.
Large Cutting Boards: The Workhorse of the Kitchen
- Dimensions: Large cutting boards typically range from 16 inches to 24 inches in length and 12 inches to 18 inches in width. These generous dimensions provide ample workspace for preparing large quantities of food, like roasts or salads.
- Features: Consider incorporating juice grooves to prevent spills and a raised edge to contain ingredients. A handle or grip on one end can enhance maneuverability.
- Purpose: Large cutting boards are ideal for tasks that require ample space, such as carving meat, chopping vegetables for a large meal, or preparing a multi-course dinner.
Small Cutting Boards: Compact and Convenient
- Dimensions: Small cutting boards can range from 8 inches to 12 inches in length and 6 inches to 8 inches in width. These compact boards are perfect for single-serving meals or tasks that don't require extensive workspace.
- Features: Small cutting boards are often designed for portability, with lightweight materials and convenient handles. Some may feature integrated containers for collecting food scraps.
- Purpose: Small cutting boards are ideal for chopping herbs, slicing bread, or preparing small portions of food.
Specialized Cutting Boards: Tailored for Specific Needs
- Cheese Boards: Cheese boards are typically crafted from hardwoods like maple or walnut and feature distinct areas for serving different types of cheese, crackers, and accompaniments.
- Charcuterie Boards: Similar to cheese boards, charcuterie boards showcase a variety of cured meats, cheeses, and accompaniments. These boards often feature a grooved area to hold small bowls or jars.
- Serving Boards: Serving boards are designed for displaying and presenting food. They often incorporate handles for easy transport and a decorative design to enhance the presentation.
Construction Techniques: Bringing Your Cutting Board to Life
Once you've selected your materials and design, it's time to bring your cutting board to life. This section outlines various construction methods.
Gluing and Clamping: A Classic Approach
- Prepare the Wood: Select planks of wood with a smooth surface and consistent thickness. Sand the planks to remove any imperfections or splinters.
- Apply Glue: Use a high-quality wood glue and spread it evenly on the surfaces of the planks.
- Clamp the Boards: Align the planks and clamp them together firmly. Ensure the clamps are distributed evenly to create a tight bond.
- Curing Time: Allow the glue to cure fully according to the manufacturer's instructions.
- Finishing Touches: Sand the edges and surfaces of the board to create a smooth finish. Apply a food-safe sealant to protect the wood and enhance its lifespan.
Edge-Joining Methods: For a Seamless Look
- Tongue and Groove: This technique involves creating a tongue-shaped projection on one plank and a groove on the other. When joined, the tongue fits perfectly into the groove, creating a seamless and strong bond.
- Biscuit Joining: Biscuit joining utilizes specialized cutters to create slots in the planks. Biscuity-shaped pieces of wood are inserted into the slots and glued together, creating a robust and stable joint.
Finishing Touches: Enhancing Durability and Aesthetics
Adding finishing touches to your cutting board can enhance its appearance, durability, and longevity.
Sealing and Finishing
- Food-Safe Sealants: Apply a food-safe sealant to protect the wood from moisture, stains, and bacteria. Popular choices include mineral oil, beeswax, and butcher block oil.
- Sanding and Polishing: Sand the board with progressively finer grits to achieve a smooth, polished finish.
Adding Handles or Grips
- Handles: Handles can enhance maneuverability, especially for larger cutting boards. Choose durable and heat-resistant materials like wood or leather.
- Grips: For smaller boards, add a grip to the underside to prevent slipping. Rubber or silicone grips offer excellent traction.
Decorative Details
- Inlays: Incorporate decorative inlays of contrasting wood species to add visual interest.
- Engraving: Customize your cutting board with a personal touch by engraving initials, dates, or designs.
Maintenance and Care: Preserving Your Investment
Proper maintenance is essential to extend the lifespan of your handmade cutting board.
Cleaning and Sanitizing
- Hand Washing: Wash cutting boards with warm, soapy water and avoid using harsh detergents or abrasive cleaners.
- Sanitizing: Sanitize your cutting board after use with a diluted bleach solution (one tablespoon of bleach per gallon of water) or a food-safe sanitizer.
- Drying Thoroughly: Always dry your cutting board completely after cleaning to prevent mold or bacteria growth.
Conditioning and Oil Treatment
- Regular Oil Treatment: Condition your cutting board with mineral oil, butcher block oil, or beeswax periodically. This helps to keep the wood hydrated and prevents cracks or warping.
- Deep Conditioning: For a deep conditioning treatment, apply a generous amount of oil and let it sit overnight before wiping off the excess.
By following these guidelines, you can craft bespoke cutting boards that elevate your culinary experience and become cherished additions to your kitchen. Whether you're a seasoned chef or a novice home cook, creating your own cutting boards allows for customization, creativity, and a connection to the art of food preparation.
No comments:
Post a Comment
Note: Only a member of this blog may post a comment.