Thursday, November 14, 2024
How to Craft Personalized Serving Trays for Extra Income
Turn Your Creative Flair Into Extra Income: Crafting Personalized Serving Trays
Hey there, crafty folks! Are you looking for a fun and rewarding way to earn some extra cash? Well, let me tell you, crafting personalized serving trays is a fantastic option! It combines your creative skills with the ever-growing demand for unique and thoughtful gifts. Imagine creating beautiful trays that become cherished keepsakes, bringing smiles to faces and filling homes with warmth. This guide will walk you through everything you need to know, from choosing the right materials to marketing your creations. So grab your favorite crafting tools and let's dive in!Why Personalized Serving Trays Are a Hot Commodity
Personalized gifts are always a hit because they show you put thought and effort into the present. Serving trays are particularly appealing because they’re practical and versatile. They can be used for everything from serving snacks and drinks to displaying decorative items. And when you add a personal touch, you create something truly special.
Materials You'll Need
Before you get started, let's gather the essential materials. Don't worry, you don't need to spend a fortune. Most of these items can be found at your local craft store or online.
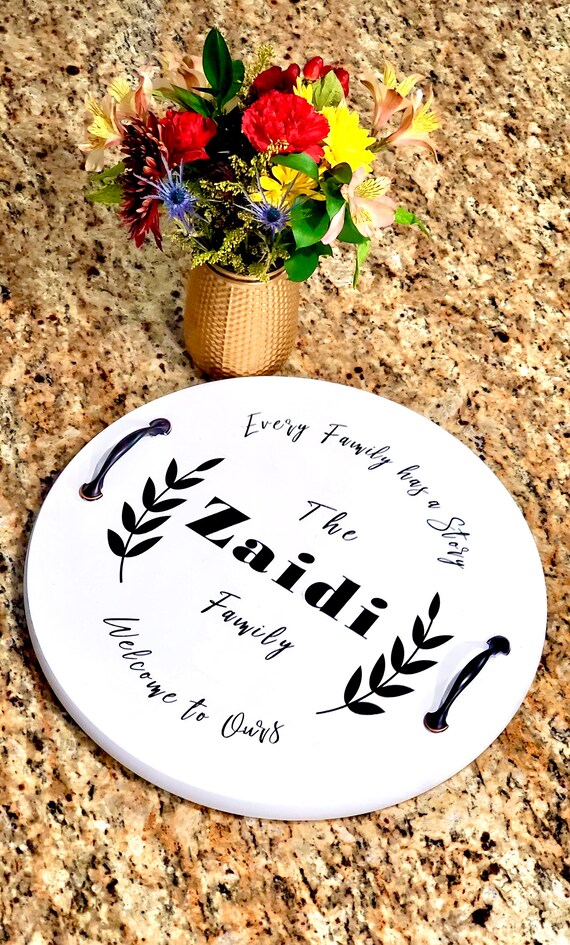
The Tray Base
- Wooden Trays: These are sturdy and come in various sizes and styles. You can even find unfinished wooden trays, giving you the flexibility to customize the look.
- Metal Trays: For a more modern vibe, try metal trays. They come in different finishes like silver, copper, or even black.
- Ceramic Tiles: Get creative by using ceramic tiles as the base. You can paint them or use decoupage techniques to add your designs.
Decorative Elements
- Paints: Choose acrylic paints, which are great for wood and ceramics. Explore different colors, textures, and finishes to suit your style.
- Stencils: Stencils allow you to easily create intricate designs. You can find them at craft stores or even make your own using adhesive paper.
- Vinyl Stickers: Want to add quotes, names, or patterns? Vinyl stickers are perfect for this and come in various sizes and colors.
- Decoupage Paper: This thin paper, often featuring beautiful patterns, is perfect for adding a decorative touch to your trays.
- Embellishments: Get creative with embellishments like buttons, beads, ribbons, or even dried flowers to add texture and personality to your trays.
Essential Tools
- Paintbrushes: Choose brushes of various sizes depending on your designs.
- Sandpaper: Sand down any rough edges on wooden trays and smooth out surfaces before painting.
- Scissors: For cutting stencils, decoupage paper, and vinyl stickers.
- Mod Podge: This multi-purpose adhesive is perfect for decoupage and sealing your designs.
- Protective Coating: A clear varnish or polyurethane will protect your tray from scratches and moisture.
Crafting Your Personalized Serving Trays
Now for the fun part! Let's get crafting! Here's a step-by-step guide to help you create your personalized serving trays:
Step 1: Choose Your Tray Base
Think about the size, style, and material that will best suit your design ideas. A rustic wooden tray might be perfect for a farmhouse aesthetic, while a sleek metal tray might fit a modern home better.
Step 2: Prepare the Tray
Clean your chosen tray base thoroughly. If you're working with wood, sand it smooth for a nice finish. For metal, use a cleaner to remove any residue.
Step 3: Brainstorm Your Design
Get your creative juices flowing! What theme or message do you want to convey with your tray? Consider the recipient's interests and personality. A food-themed tray could feature a favorite quote or recipe. A travel-themed tray could have a map or vintage luggage tags. The possibilities are endless!
Step 4: Create Your Design
- Paint: Paint the tray with your chosen base color, and then use stencils or freehand painting to add your design. Let the paint dry completely before moving on.
- Vinyl Stickers: Apply vinyl stickers carefully to your tray. Use a squeegee to smooth out any air bubbles.
- Decoupage: Cut out pieces of decoupage paper and apply them to your tray using Mod Podge. Brush on additional Mod Podge to seal the paper and create a smooth finish.
Step 5: Add Embellishments (Optional)
Embellishments can really make your tray stand out! Use buttons, beads, ribbons, or dried flowers to add texture and dimension. Be sure to secure them with glue or Mod Podge.
Step 6: Seal Your Design
Apply a protective coating like clear varnish or polyurethane to seal your design and protect it from wear and tear. This will also give your tray a beautiful shine.
Marketing Your Personalized Serving Trays
Now that you've created some stunning trays, it's time to share your work with the world! Here are some ways to market your creations:
- Online Marketplaces: Platforms like Etsy, Amazon Handmade, and Shopify allow you to sell your handmade items directly to customers.
- Social Media: Use platforms like Instagram and Facebook to showcase your trays, build a following, and engage with potential buyers.
- Local Craft Fairs: Participate in craft fairs and markets to meet customers face-to-face and sell your trays directly.
- Word-of-Mouth: Don't underestimate the power of word-of-mouth. Tell your friends, family, and neighbors about your business. You can even offer discounts for referrals.
Pricing Your Trays
Pricing your trays can be tricky. Consider your materials, time, and the uniqueness of your design. Research similar products to get an idea of what other sellers charge. Don't be afraid to charge what your work is worth!
Tips for Success
- High-Quality Materials: Use quality materials to ensure your trays are durable and long-lasting. This will also reflect well on your brand.
- Attention to Detail: Take your time with each step. A well-crafted, personalized tray is worth the extra effort.
- Offer Gift Wrapping: Make your trays even more appealing by offering gift wrapping options.
- Excellent Customer Service: Respond to inquiries promptly, be friendly, and go the extra mile to satisfy your customers. Happy customers are your best advertisement!
Commonly Asked Questions
What kind of paint is best for serving trays?
Acrylic paint is generally the best choice for serving trays. It's durable, dries quickly, and comes in a wide variety of colors.
How do I protect my designs from scratches and water?
Seal your designs with a clear varnish or polyurethane. This will create a protective barrier that will help prevent scratches and water damage.
How do I get started selling my personalized serving trays?
Start by creating a small collection of trays. Then, choose a few online marketplaces or social media platforms to promote your work. Don't be afraid to reach out to local shops or boutiques to see if they're interested in carrying your trays.
Crafting personalized serving trays can be a fun and profitable side hustle. With a little creativity, patience, and the right marketing strategy, you can turn your passion into a successful business!
No comments:
Post a Comment
Note: Only a member of this blog may post a comment.